DIY Cabinet Painting: Step-by-Step Guide
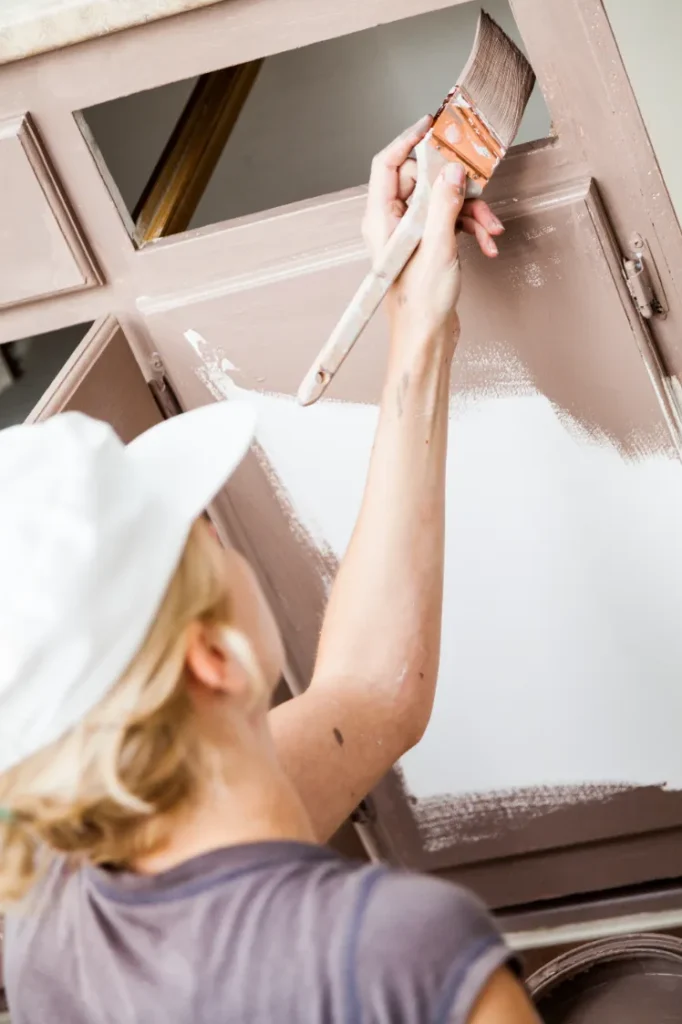
BLOG POSTS DIY Cabinet Painting: Step-by-Step Guide “Applying paint to cabinet doors during a cabinet painting project.” Cabinet painting is a cost-effective way to breathe new life into your kitchen or bathroom. This simple yet impactful DIY project can give your space a fresh, updated look. Follow this step-by-step guide to achieve a professional-looking finish with minimal effort. 1. Prepping Your Cabinets for Painting Preparation is key to a smooth and successful cabinet painting project. Start by removing the cabinet doors, hardware, and drawers. This allows you to paint every surface thoroughly. Clean all surfaces to remove grease, dirt, and grime, ensuring better paint adhesion. Tip Clean the cabinets with a degreaser or a mild soap solution before wiping them down with a clean cloth. 2. Sanding and Priming Your Cabinets Next, sand the cabinet surfaces to remove old finishes and create a smooth surface for paint adhesion. Lightly sand all areas using medium-grit sandpaper. After sanding, wipe off the dust with a damp cloth. Once the surfaces are clean and smooth, apply a coat of primer. A good primer ensures better paint adhesion and a longer-lasting finish. Opt for a primer specifically designed for cabinetry to achieve the best results. 3. Choosing the Right Paint for Cabinet Painting Selecting the right paint is crucial for a durable and high-quality finish. Choose a paint designed for cabinetry, such as a semi-gloss or satin finish, which is easy to clean and maintains a sleek look. For kitchens, consider moisture-resistant paint to avoid stains. Tip For a smooth finish, use a paint sprayer or high-quality brush designed for cabinet work. 4. Applying the Paint Once primed, start applying your paint with long, even strokes. Apply a thin first coat and allow it to dry completely before adding a second coat. Depending on the finish you want, multiple coats may be required, but each coat must dry fully before applying the next. Tip Allow each coat to dry for at least 2-4 hours before applying the next layer. 5. Reassembling Your Cabinets After the final coat of paint dries, reassemble your cabinets by reinstalling the hardware and reattaching the doors and drawers. Let the paint cure for 24 to 48 hours before using the cabinets to avoid damaging the finish. Tip Be patient to ensure the paint fully cures for the best results. “Reassembling cabinet doors with a drill after a cabinet painting project.” Is DIY Cabinet Painting Right for You? While cabinet painting is a manageable DIY project, it may be best to hire a professional if you’re short on time or don’t have the right tools. If your cabinets have significant damage or require specialized treatment, professionals can ensure that the finish is flawless and long-lasting. Get Started on Your Cabinet Painting Project Cabinet painting is a great way to refresh your kitchen or bathroom without the cost of replacements. With the right preparation, materials, and patience, you can achieve a beautiful and durable finish on your own. If you prefer professional assistance, we’re here to help. Ready to start your cabinet painting project? Contact us to learn more about our professional painting services. Check out our E&S Contractor Painting Company Inc blog for more DIY tips and guides. CONTACT US NOW Share This Blog